How to Setup Kiosk Scanner
- Connect the scanner to the PC you have installed Kiosk manager on (Windows PC ONLY).
- Download the correct driver and technical documentation from the manufacturers' website if required (some scanners can use the default drivers Windows 10 has).
- Run the driver installation as per the instructions.
To ensure the scanner can communicate with the Kiosk software the scanner needs to be visible through a COM (Communication port) on windows.
- To check that the connection is made [Windows]: Open Device Manager - Control Panel\Hardware and Sound under Devices and Printers select Device Manager. Navigate to Ports (COM & LPT) and check if the scanner name is visible [Note: This connection will be made on any port name with the exception of COM1 which is always reserved by the OS].
- To check that the connection is made [Kiosk Launcher]: Open Kiosk Launcher select Settings\Scanner. If the device is connected correctly, information about the device is displayed.
If the connection is not visible on a COM port then refer to manufacturers' technical documentation and/or with your hardware supplier.
The method for making a connection (setting the mode) is usually by scanning a 'COM/Serial Port' barcode supplied by the manufacturer.
Please note: If you are checking the connection through the Kiosk Launcher click the refresh button in the scanner panel after you have tried the connection method.
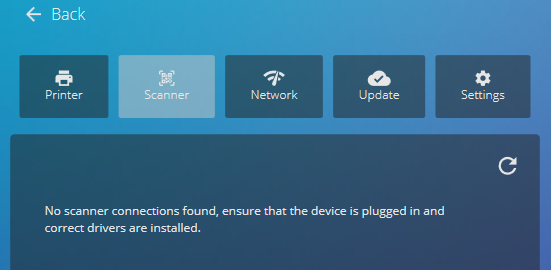
Eg: Scanner connection not found (kiosk Manager - > Settings -> Scanner
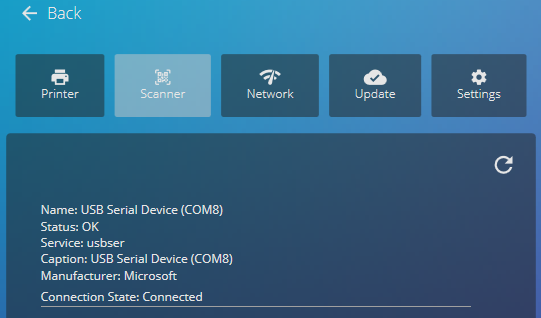
Scanner Connection found - Scanner set to USB Com to simulate RS-232 standard interface or USB Serial mode, Virtual COM mode. (can go by other names, your hardware supplier will be able to confirm).
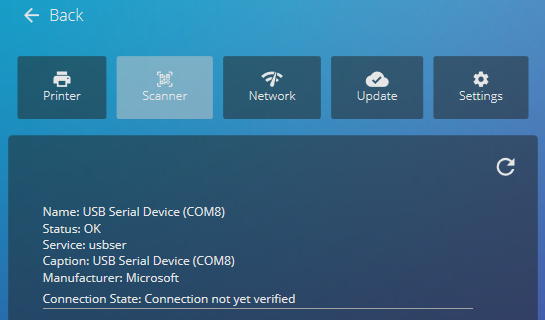
Scanner connection found, and test scan completed (for example an event ticket QR Code is scanned)